

Baking Season is Here Again!
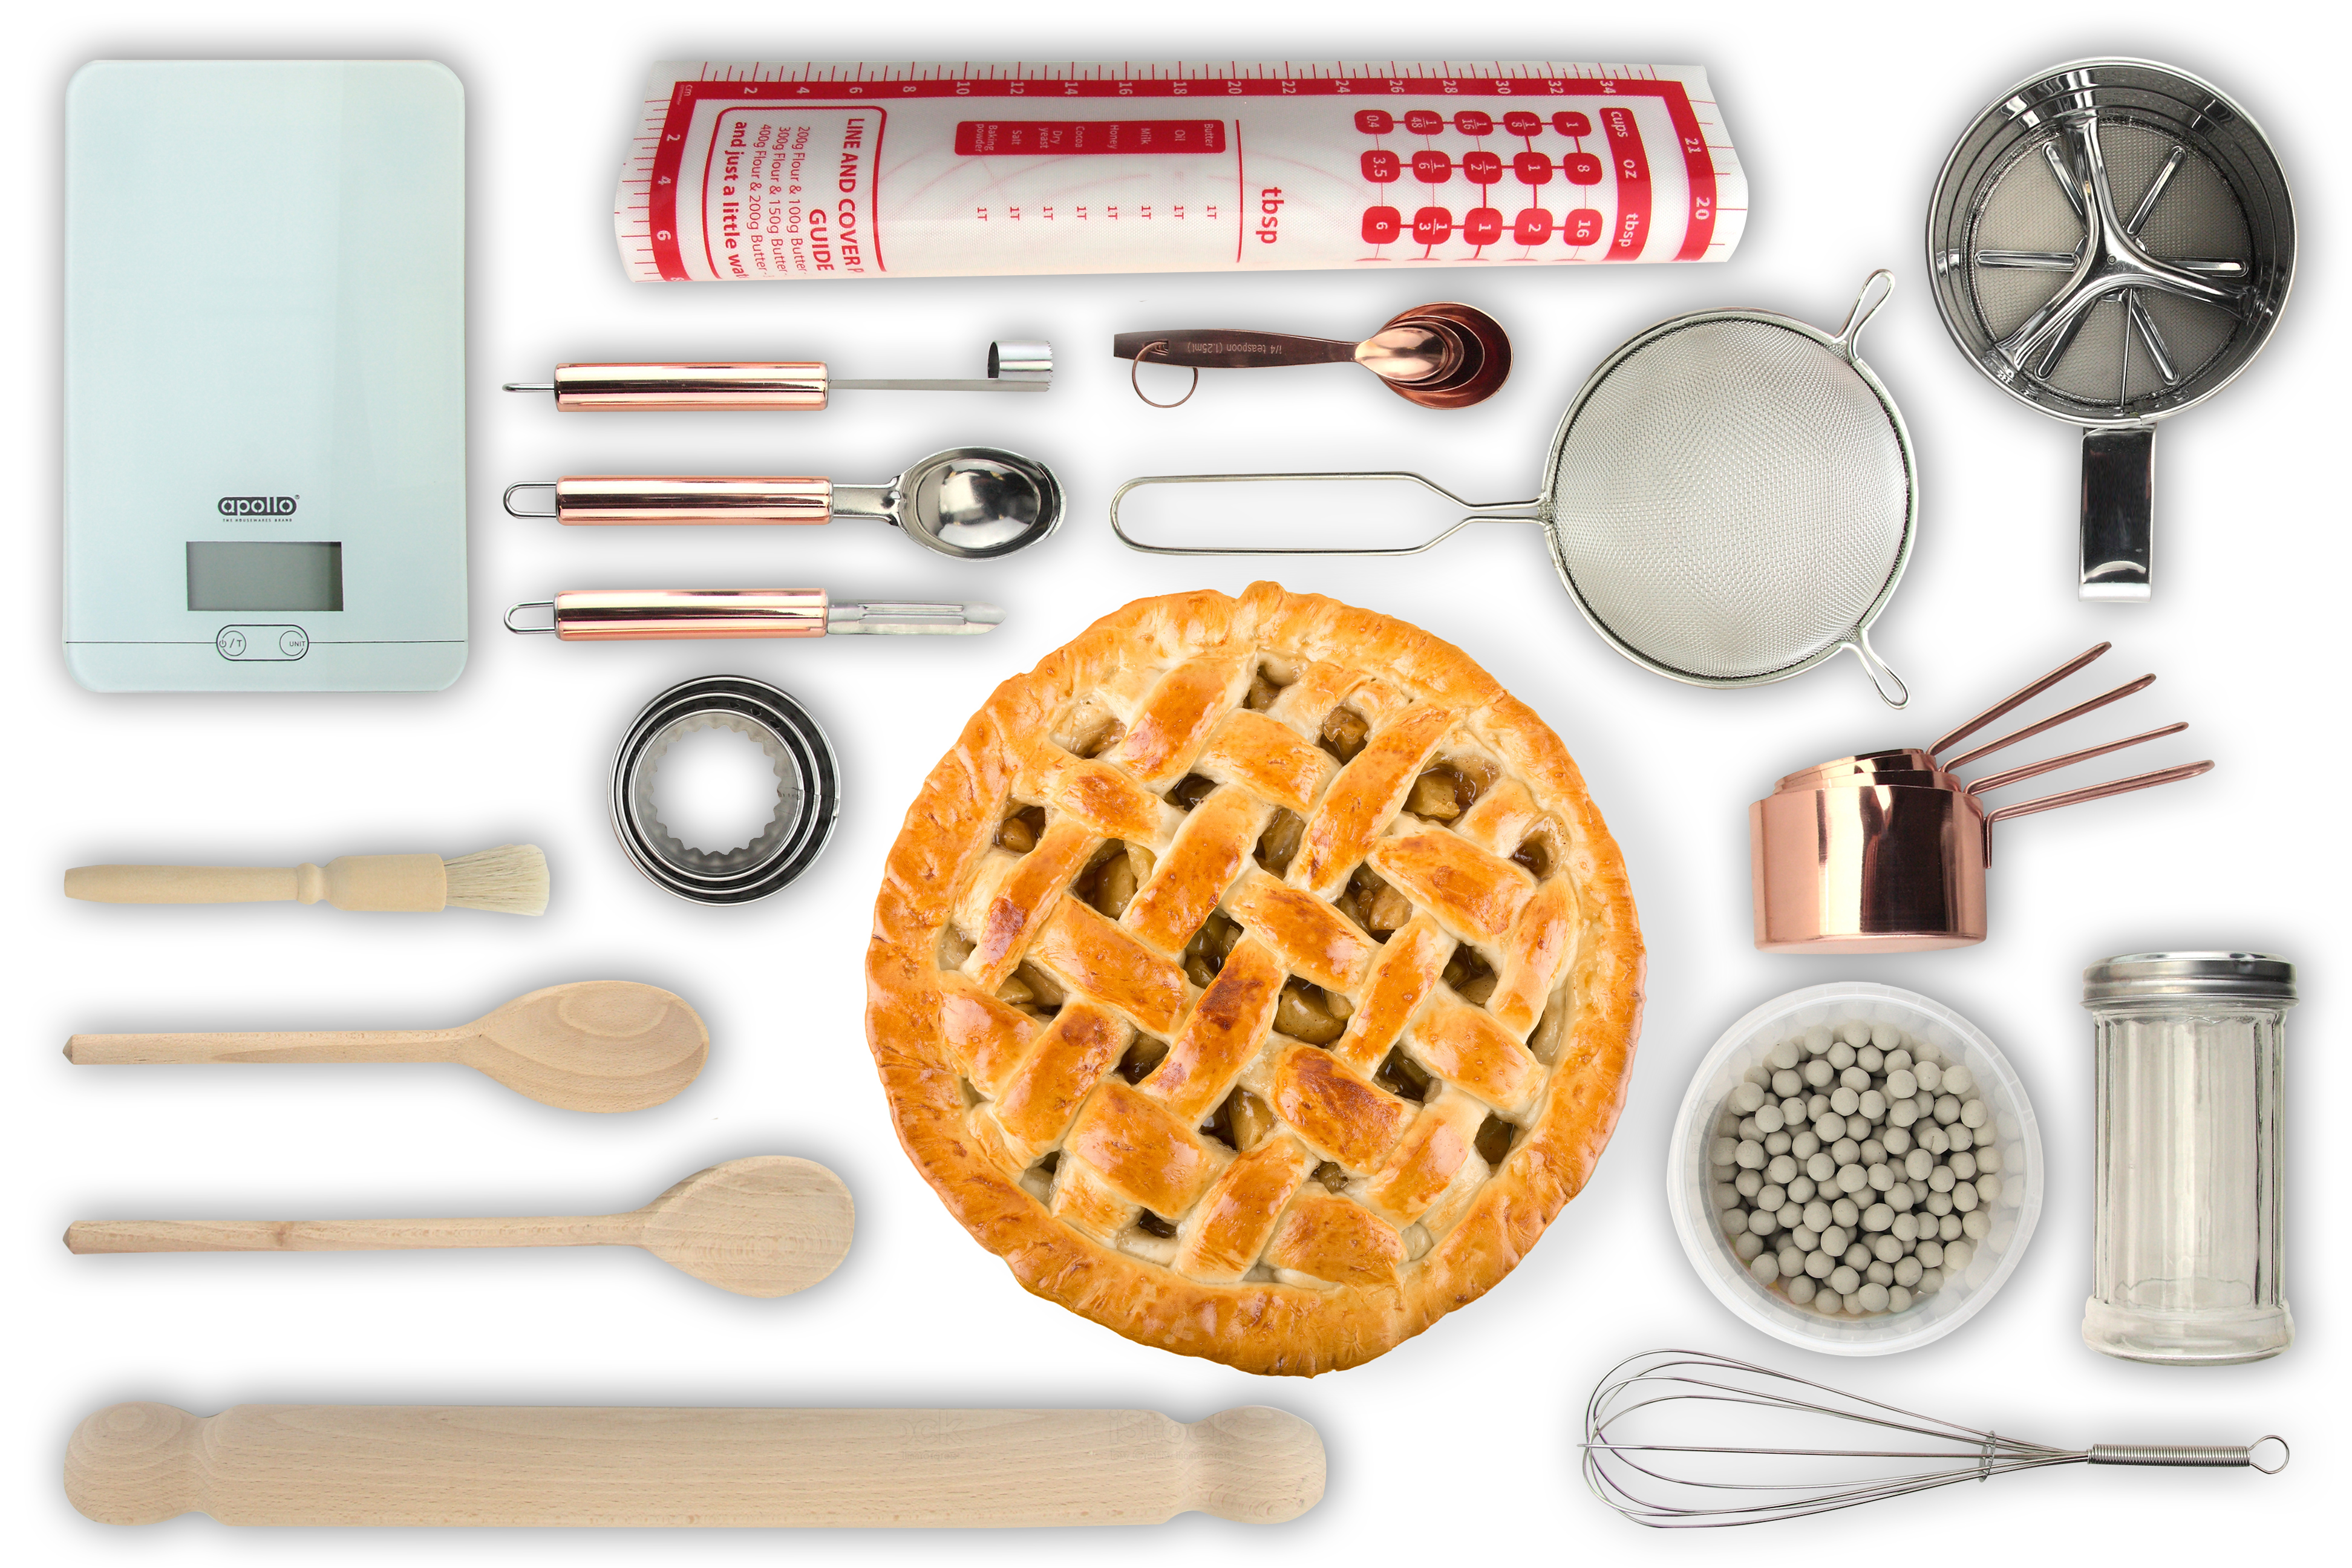
September is upon us with shortening cooler days, it also marks the beginning of baking season, a cheeky afternoon G&T being rejected in favour of a good brew and a slice of cake (I know – insane!). So are you fully tooled up ready to bake some tempting fancies?
Sieve √
Scales √
Bowl √
Whisk √
Measuring Cups √ (because that tasty recipe you found on the internet is always the American one).
Not only are cakes and sticky buns the order of the day, September also marks the grand finale of the hedgerow foraging bonanza. Plenty of free blackberries about, they will go a treat in a pie with the apples and pears from a fruit and veg shop, your own trees in your garden or someone else’s… No, we are not condoning you nipping over Mrs Miggin’s fence and scrumping a hearty haul of cooking apples! With a bountiful harvest many folks will put a box of extras outside their house for you to help yourself.
Better add a jug to the list for the custard to pour over your pie.
There is a certain satisfaction in making your own apple pie, especially if you have your own apples in the garden. The key to success is good pastry and a little patience. The general rule for simple pastry is twice as much flour to butter or fat; having a sweet tooth, a couple of heaped teaspoons of castor sugar in the flour just adds a little something.
“Hang on! How much flour and butter do I need to make a 23cm pie?” Printed on our 7691 Pastry Mat there is a little guide telling you how much you need to line and cover the popular pie dish sizes. There is also an ounces and gram conversion chart, oven temperatures, even a round measured rolling pin guide to help get your pastry round. Best of all you don’t need to flour it to stop the pastry sticking, with the silicon surface pretty much everything slides on and off.
Once you have rubbed your flour and butter together into ‘breadcrumbs’, just add enough water, bind the two together. Too little – it will be dry and falling apart, too much – and it becomes glue. You need just enough to make it pliable. The patience part is once shaping the pastry into a ball and putting into a bowl, cover with a 8240 Bowl Topper and leave it in the fridge to settle and cool. This will help to stop shrinkage when it bakes, too.
While your pastry is resting, get your apples ready for the filling. With most houses equipped with a microwave this is simpler now: peel, core, divide, and slice your apples into nice mouth-sized pieces and place in a microwaveable bowl. At this stage it might be a great idea to taste your apples and see if you need to add a bit of sugar if they are a bit sour. We add a cheeky little glug of Calvados, too 😉 Put a bowl topper on the bowl (that’s why we made it a 2 pack) and microwave for about 5 minutes. You want your apples soft but not mushy.
Get your oven warming up to 190°C, grab your pie dish or plate and split the pastry 60/40. Put your larger lump on the Pastry Mat and roll it out to the size suitable for your pie plate. You can now run the Blind Baking roller over the pastry making sure not to puncture it, pick up the Pastry Mat and lay your rolled out pastry over the dish and gently press it down so there is no air underneath and trim the overhanging edges off. Now beat an egg with a little water, or just milk will do the trick, and brush this all over the pastry – this will glaze and seal the base – make a circle of grease-proof paper just a bit bigger than the inner base and pour your Baking Beans onto it, then put it in the oven for 15 minutes. Take it out and carefully remove the HOT beans, and put the “blind” pie case back in the oven for 5 more minutes or until lightly browned. Roll out the remains of your pastry ready for the lid of your pie. When the 5 minutes are up, take the pie base out of the oven and spoon evenly your prepared cooked apple into the base, just check that the apple is sweet enough for you. Get your egg-wash mix or milk and brush the rim of the cooked pie base where the lid will join it. Then put the raw pastry lid on top, trim it to overlap the base a little with a knife, and gently press down, using the tines of a fork will also add a bit of decoration. Finally, brush the whole top with your egg or milk glaze. If you have some rolled out pastry left over, you may wish to decorate the top a little more. Then put it all in the oven for at least 20 minutes or until the top is a golden brown.
Serve hot or cold with custard, cream or a scoop of ice cream!